How to Start Making Candles at Home
Candle making is one of the most accessible crafts you can try. It's creative, relaxing, and produces something you can actually use or gift. The basic process is simple: melt wax, add fragrance, pour into a container with a wick, and let it cool. But the details make all the difference between a mediocre candle and a great one.
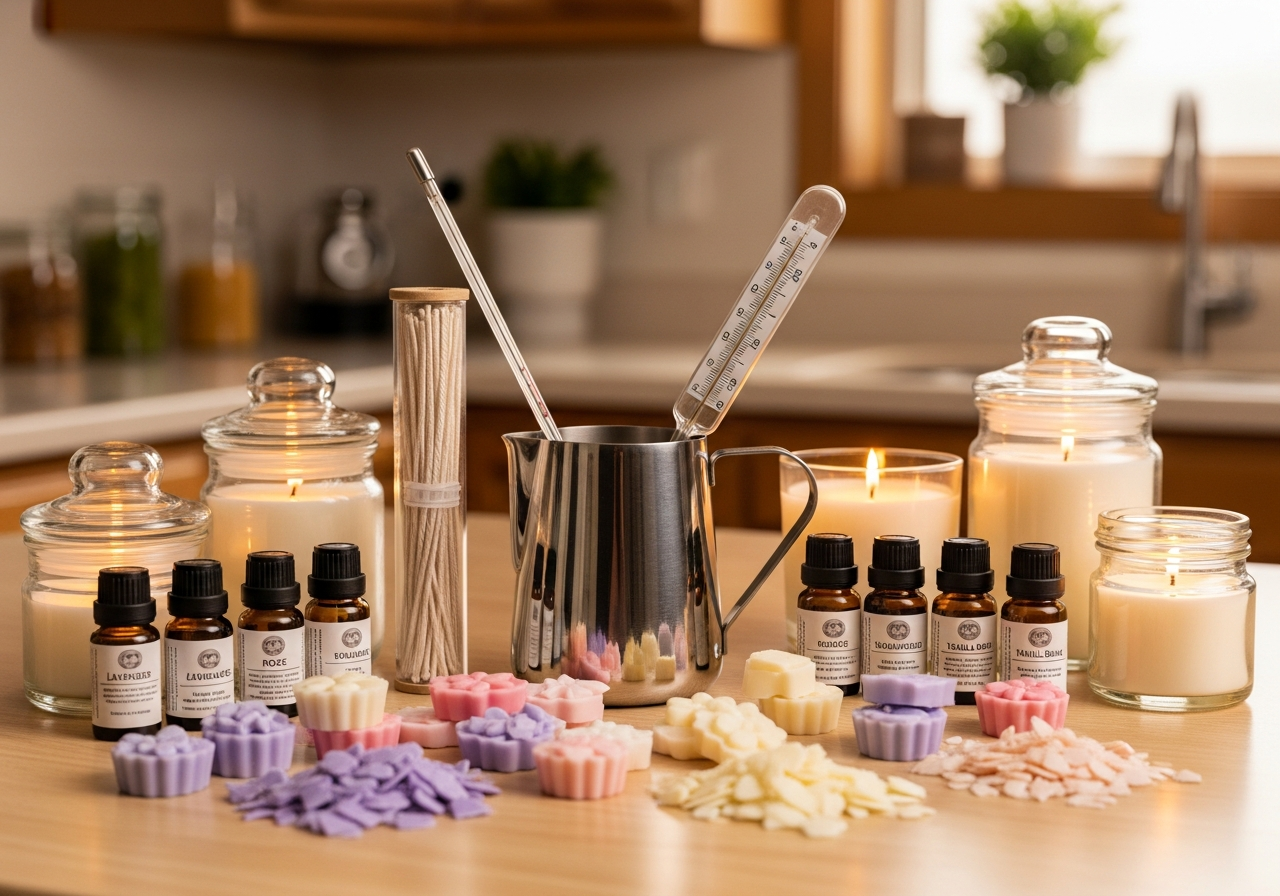
Essential Supplies for Candle Making
**Soy wax** is the best choice for beginners — it's natural, burns clean, and is easy to work with. Pre-tabbed **cotton wicks** save you the hassle of wick assembly. **Fragrance oils** designed for candles let you create custom scent blends. And you'll need **containers** — mason jars, tins, or dedicated candle jars all work great.
Tips for Your First Pour
- Use a **thermometer** to monitor wax temperature — pour too hot and you'll get sinkholes
- Add fragrance oil at 185°F and pour at around 135°F for soy wax
- Center your wick carefully — use a wick holder or pencil laid across the jar
- Let candles cure for at least 48 hours before burning for the best scent throw
- Start with simple single-scent candles before trying complex blends
Common Mistakes to Avoid
- Using too much or too little fragrance oil — follow the 6-10% rule by weight
- Pouring wax too quickly, which creates air bubbles
- Choosing the wrong wick size — too small and it tunnels, too large and it smokes
- Not using a double boiler — melting wax directly over flame is a fire hazard