Getting Started with Diamond Painting
Diamond painting has taken the crafting world by storm, and for good reason. It's relaxing, satisfying, and produces genuinely impressive artwork. Think of it as paint-by-numbers but with tiny, sparkling resin diamonds. Each diamond is placed on a coded adhesive canvas, and when complete, the result catches light beautifully.
Essential Supplies
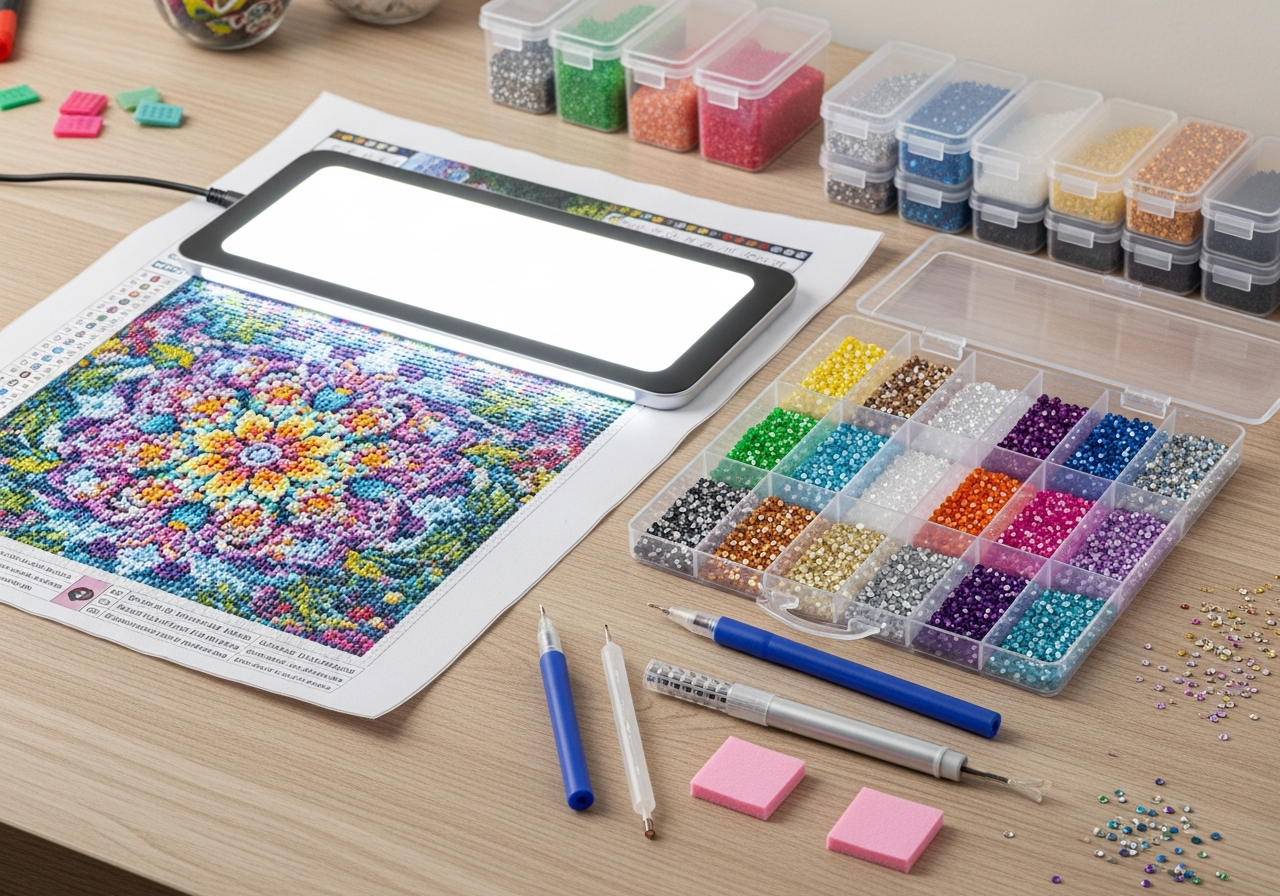
Most diamond painting kits come with a **canvas, diamonds, applicator pen, wax pad, and tray**. But upgrading your tools makes the experience much more enjoyable. A **light pad** illuminates your canvas from below, making symbols easier to read. **Storage containers** keep your diamonds organized by color. A **multi-placer pen** lets you place multiple diamonds at once for large areas of the same color.
Tips for Better Diamond Painting
- **Work in sections** — peel back only a small area of the protective film at a time to keep the adhesive fresh
- Use a **light pad** — it dramatically reduces eye strain and makes dark canvases much easier to work on
- **Pour only a small amount** of diamonds into your tray at a time
- Gently press diamonds with a **rolling pin** after completing a section to ensure they're fully adhered
- Work from the bottom of the canvas up to avoid accidentally disturbing placed diamonds
Common Mistakes to Avoid
- Removing all the protective film at once — the adhesive dries out and diamonds won't stick
- Not sealing your finished painting — a clear sealant protects your work
- Pressing too hard with the applicator pen — a gentle touch is all you need
- Buying canvases that are too small for detailed images — larger canvases look better