Getting Started with Linocut Printmaking
Linocut is a relief printing technique where you carve a design into a sheet of linoleum, roll ink over the raised surface, and press it onto paper. The result is a bold, graphic print that can be reproduced multiple times. It's a deeply satisfying art form that combines design, craftsmanship, and the thrill of the reveal when you peel back the paper.
Essential Supplies
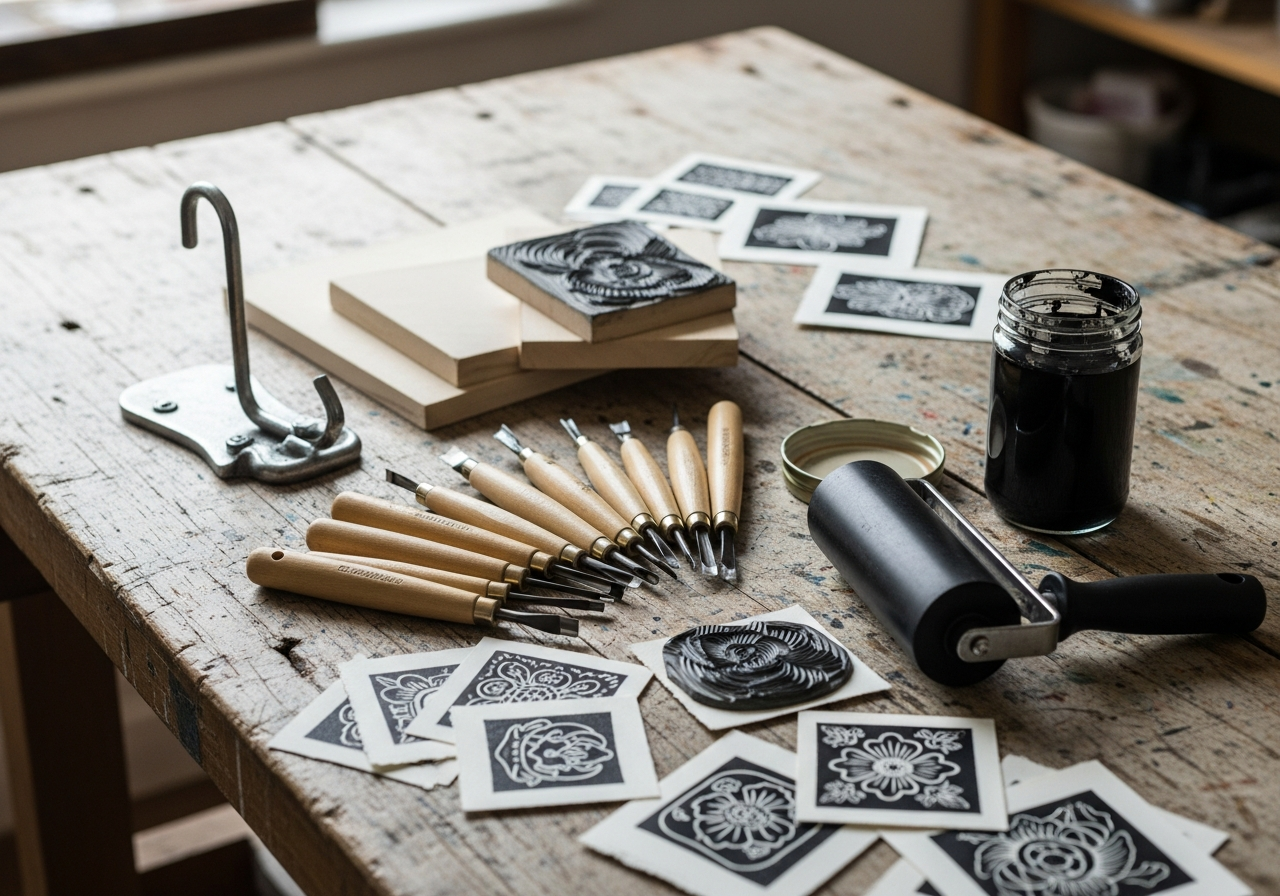
**Linoleum blocks** are your canvas — choose mounted blocks for stability or unmounted for flexibility. A quality **carving tool set** with interchangeable blades lets you create fine details and broad cuts. **Block printing ink** designed for relief printing gives clean, crisp results. A **brayer (roller)** applies ink evenly. And a **baren or press** transfers the image from block to paper.
Tips for Better Prints
- **Start with a simple design** — bold shapes with clear contrast work best for beginners
- Carve away the negative space — what you remove will be white, what remains will print
- Roll ink in multiple directions on a flat surface before applying to the block
- Apply **even, firm pressure** when pressing — a wooden spoon works in a pinch
- Print on thin, slightly damp paper for the sharpest impressions
- Always carve away from your fingers — linocut tools are extremely sharp
Common Mistakes to Avoid
- Using too much ink — it fills in fine details and creates blurry prints
- Carving with a dull blade — sharpen or replace blades regularly
- Not securing the block while carving — it can slip and cause injury
- Giving up after the first print — it takes several pulls to get the ink coverage right