Getting Started with Miniature Painting
Miniature painting is one of the most rewarding hobbies in tabletop gaming. There's nothing quite like placing a mini you painted yourself on the battle map. The good news? You don't need artistic talent — you need patience, the right tools, and a willingness to learn.
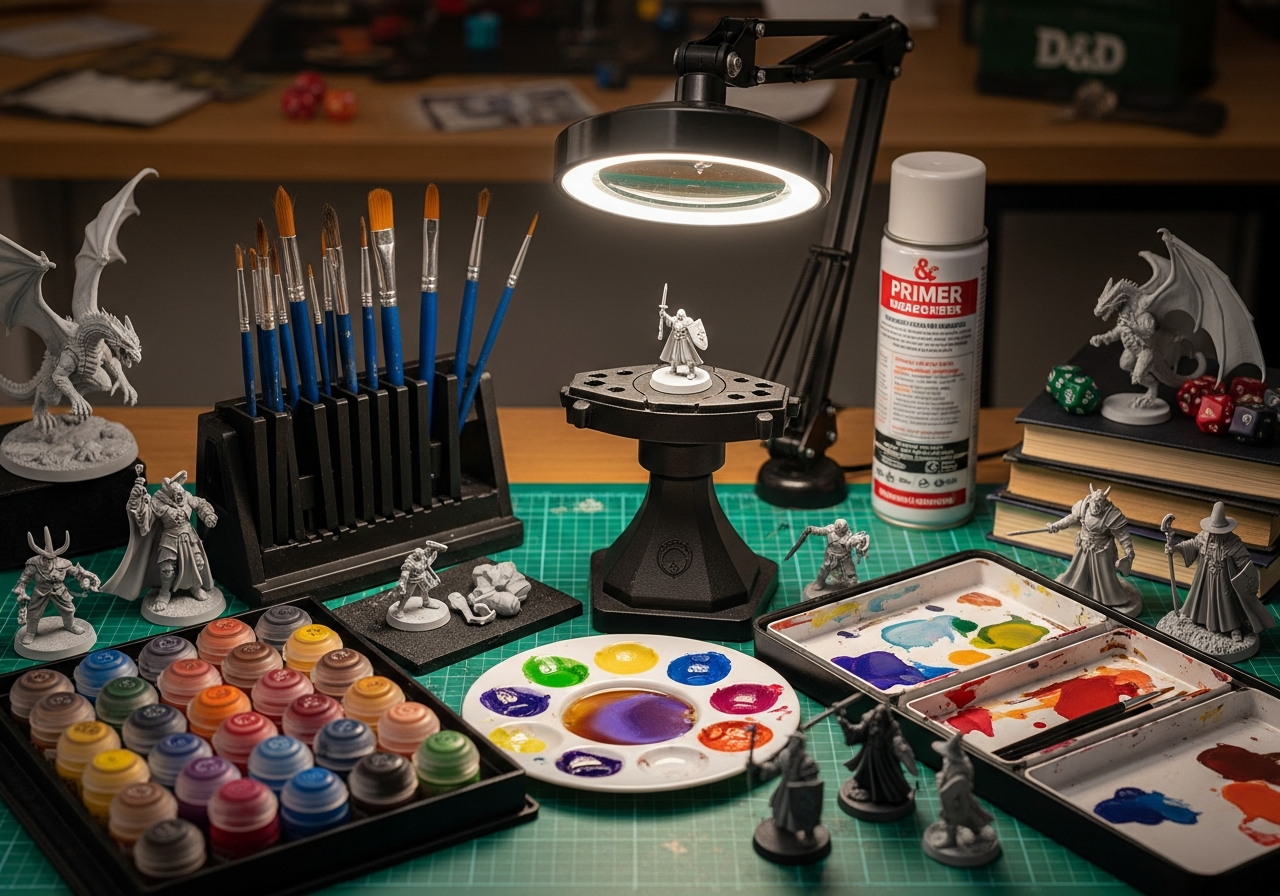
Essential Painting Supplies
- **Fine detail brushes** — Size 0, 1, and 2 cover most miniature work
- **Acrylic paints** — Water-based paints designed for miniatures (Vallejo, Citadel, Army Painter)
- **Primer** — Spray or brush-on primer creates a surface paints can grip
- **Wet palette** — Keeps paints workable for hours instead of minutes
- **Miniature holder** — Holds the mini steady without touching wet paint
The Basic Painting Process
1. **Clean and assemble** the miniature, removing mold lines 2. **Prime** with a thin, even coat (gray is the most versatile color) 3. **Base coat** — Apply solid colors to each area 4. **Wash / Shade** — Apply a dark wash to add depth to recesses 5. **Highlight** — Dry brush or edge highlight raised areas 6. **Base** — Add texture to the base (sand, grass, rocks) 7. **Seal** — Apply a protective varnish coat
Tips for Beginners
- **Thin your paints** — the number one rule; thick paint obscures detail
- Two thin coats are always better than one thick coat
- Start with a simple color scheme — 3-4 colors per mini is plenty
- Don't aim for perfection — tabletop-quality looks great at arm's length
- Paint in sub-assemblies for complex models (paint before fully assembling)
- Clean your brushes frequently and never let paint dry in them
Common Mistakes to Avoid
- Skipping primer — paint will flake and chip without it
- Using house paint brushes — miniature brushes are sized for tiny details
- Not thinning paints — goopy paint fills in sculpted details
- Comparing your first mini to professional painters — everyone starts rough