Getting Started with Soap Making
Handmade soap makes wonderful gifts and is a craft you can personalize endlessly. The melt-and-pour method is the perfect entry point — no lye handling required. You simply melt a pre-made soap base, customize it with colors, scents, and additives, and pour it into molds. Within hours, you have beautiful bars of soap.
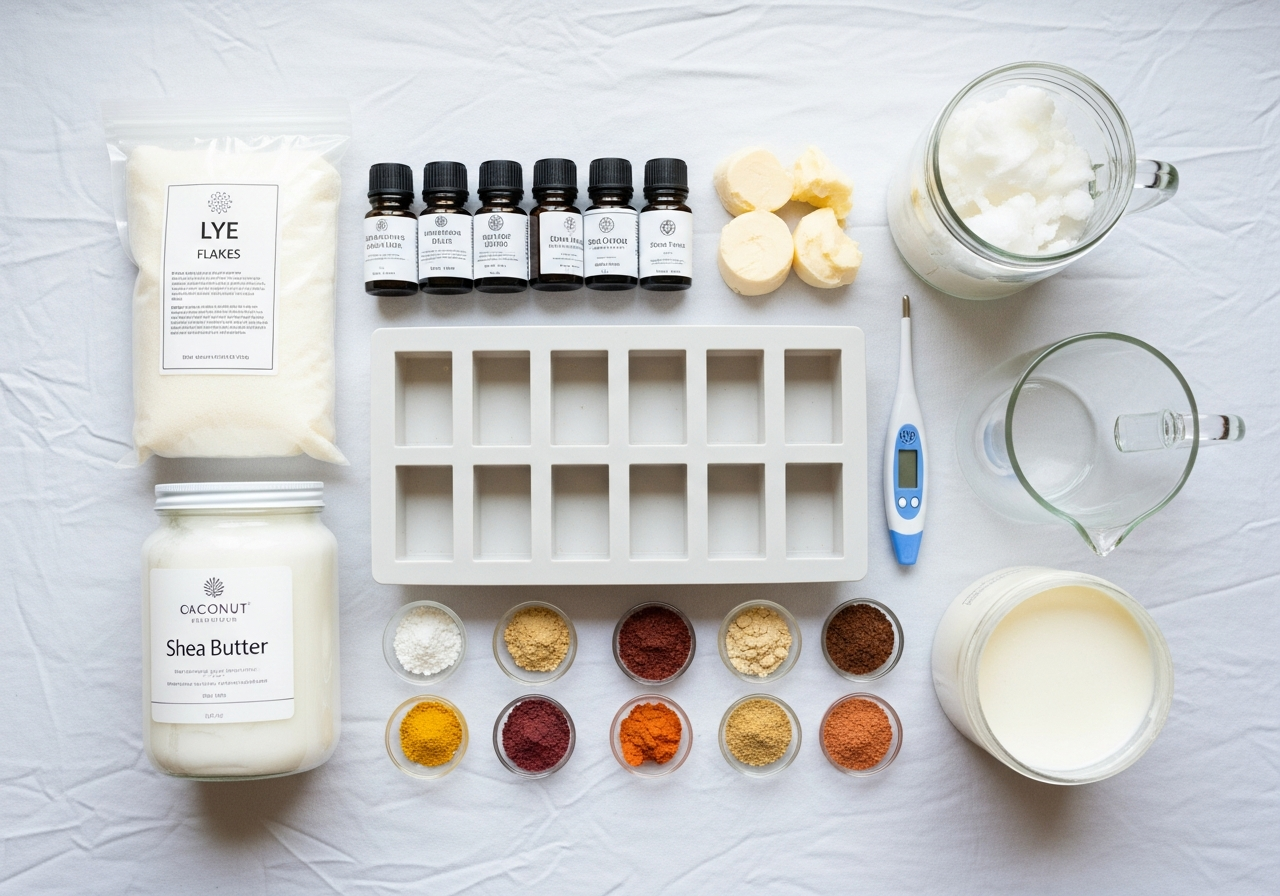
Essential Soap Making Supplies
A quality **melt-and-pour soap base** is your foundation — choose from clear glycerin, shea butter, goat's milk, or other options. **Soap fragrance oils** add scent, while **soap colorants** (liquid or mica powders) create visual appeal. **Silicone molds** give your bars professional shapes, and a **microwave-safe pitcher** makes melting easy.
Tips for Beautiful Soap
- Cut the soap base into small, even cubes for faster, more even melting
- **Don't overheat** — microwave in 30-second bursts and stir between
- Spritz the surface with rubbing alcohol to eliminate bubbles after pouring
- Add fragrance at around 140°F — too hot and the scent evaporates
- Embed dried flowers, oatmeal, or coffee grounds for visual texture
Common Soap Making Mistakes
- Adding too much fragrance oil — follow the supplier's recommended usage rate
- Stirring too vigorously and creating air bubbles in the soap
- Not using rubbing alcohol spray — bubbles on the surface look unprofessional
- Unmolding too early — let soap harden completely (4-6 hours minimum)