How to Carve Your Own Rubber Stamps
Hand-carved stamps are a wonderful way to personalize cards, journals, gift wrap, and fabric projects. Unlike store-bought stamps, your handmade designs are completely unique. The process is surprisingly simple and meditative — draw, transfer, carve, and stamp.
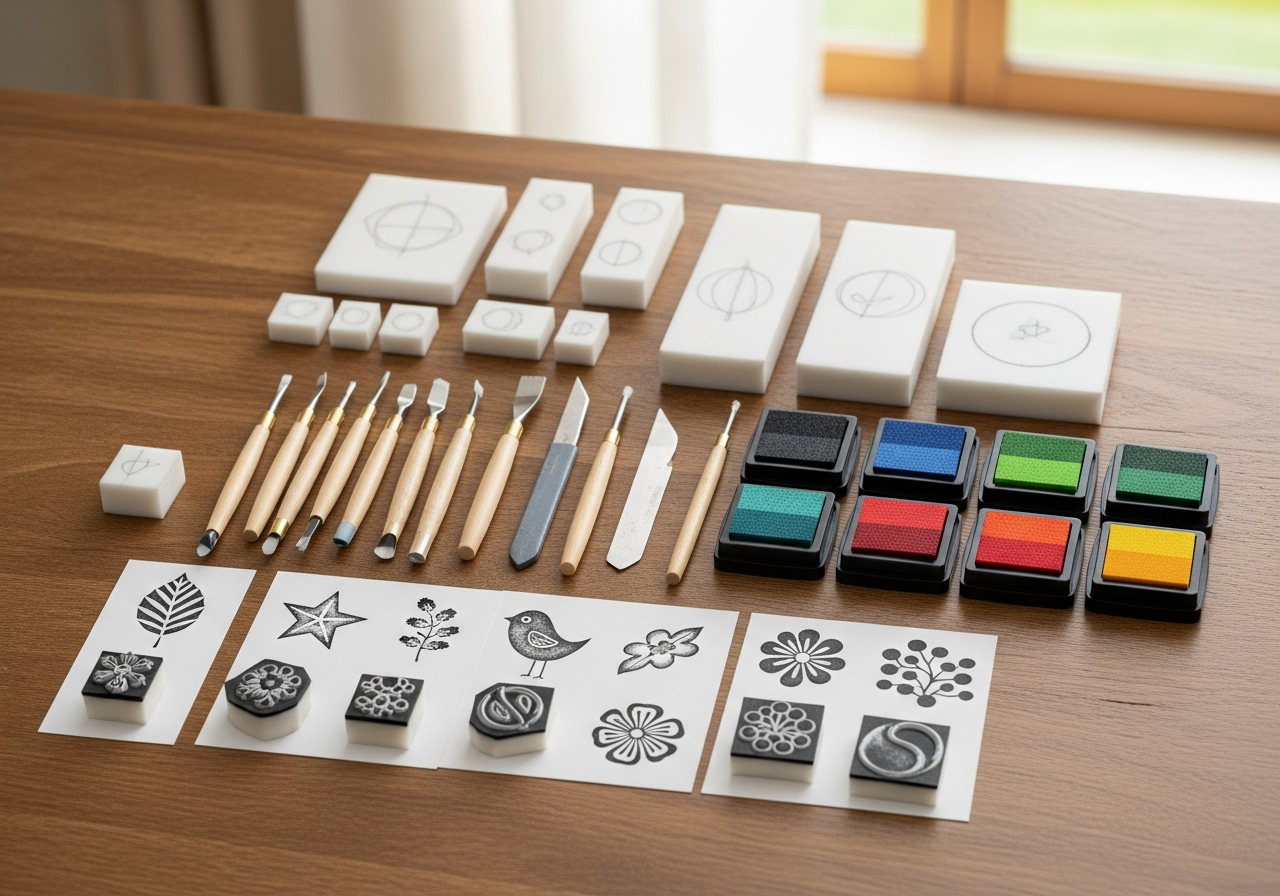
Essential Supplies
**Rubber carving blocks** are the foundation — they're softer than linoleum and easier to carve, making them ideal for beginners. A **carving tool set** with V-gouges and U-gouges lets you create fine lines and clear away large areas. **Ink pads** in various colors bring your stamps to life. **Tracing paper** and a **pencil** let you transfer designs onto your block.
Tips for Better Stamps
- **Start with simple designs** — bold shapes with clear outlines work best
- Draw your design on tracing paper, then flip it onto the block (the image will be mirrored when stamped)
- Carve shallow at first — you can always remove more material
- **Test stamp frequently** during carving to check your progress
- Clean stamps with mild soap and water after each use
- Store stamps rubber-side up to protect the carved surface
Common Mistakes to Avoid
- Carving too deep — shallow cuts work fine and keep the block sturdy
- Forgetting to mirror your design — text will print backwards if not flipped
- Using dull carving tools — sharpen or replace blades for clean cuts
- Not warming up the carving block — room temperature rubber carves more smoothly