Your Guide to an Epic Stargazing Night
Stargazing is one of the most accessible and awe-inspiring hobbies you can pick up. You don't need a telescope to start — just a clear sky, a comfortable spot, and the right tools to help you navigate what you're seeing. The universe puts on a free show every single night.
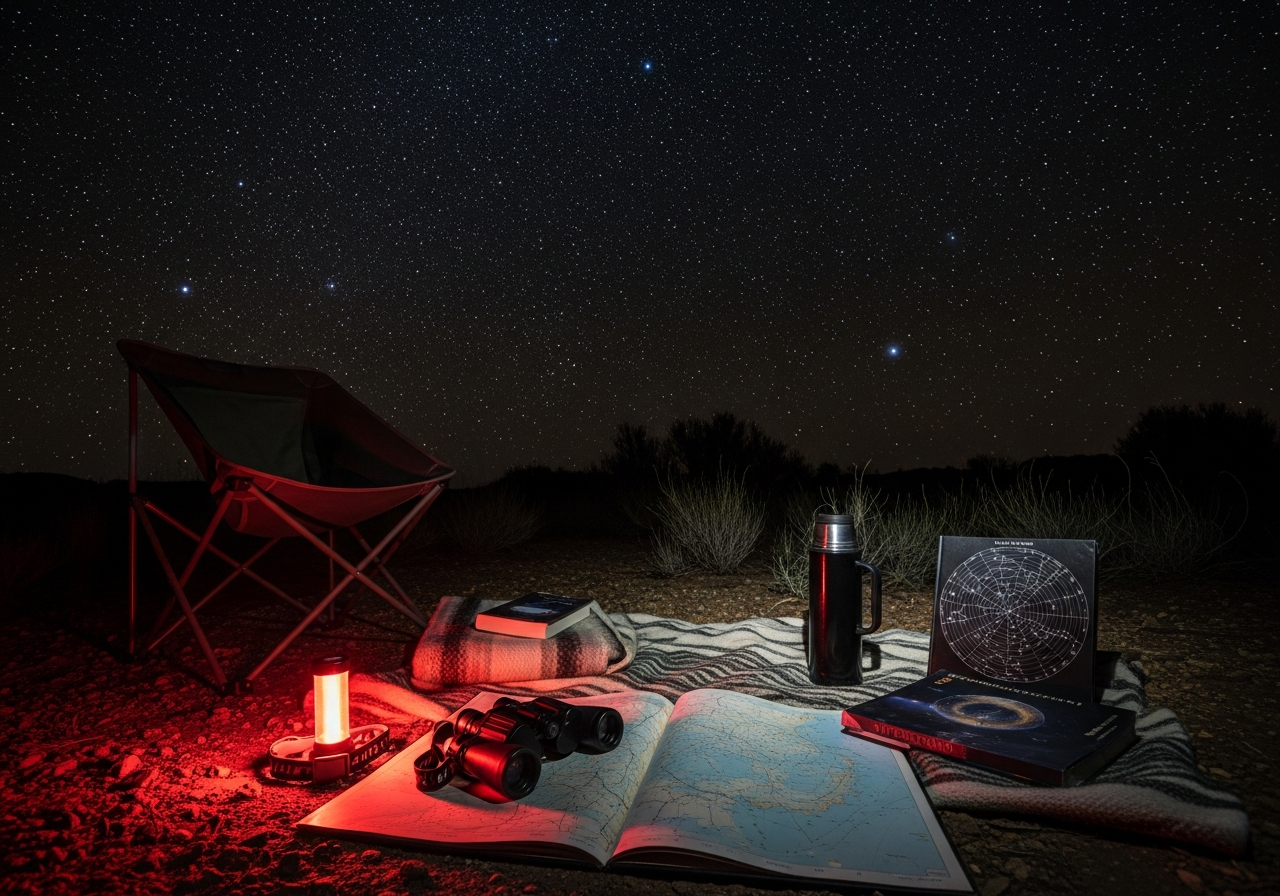
Essential Stargazing Gear
A **red-light flashlight** preserves your night vision while you set up — regular white light ruins your eyes' dark adaptation for up to 30 minutes. **Binoculars** are actually better than telescopes for beginners because they offer a wide field of view and are intuitive to use. A **star map** or planisphere helps you identify constellations, and a **tripod phone adapter** lets you photograph what you see.
Planning Your Stargazing Night
- Check the weather and moon phase — **new moon nights** offer the darkest skies
- Get away from city lights — even 20 minutes of driving makes a huge difference
- Use apps like Stellarium or Sky Map to identify stars, planets, and satellites in real time
- Allow 20-30 minutes for your eyes to fully adjust to the dark
- Dress warmer than you think — temperatures drop significantly at night, even in summer
What to Look For
- **Planets**: Venus, Jupiter, and Saturn are visible to the naked eye and stunning through binoculars
- **The Milky Way**: Visible from dark-sky locations, especially in summer
- **Meteor showers**: The Perseids (August) and Geminids (December) are the best annual shows
- **The International Space Station**: Visible as a bright, fast-moving dot — check NASA's tracker
- **Constellations**: Start with the Big Dipper, Orion, and Cassiopeia
Common Mistakes
- Using a white flashlight — switch to red light only
- Looking through a telescope before learning the sky with your eyes
- Giving up after 5 minutes — your eyes need 20+ minutes to adjust
- Stargazing from a well-lit area — even a porch light reduces visibility
Pack this kit, drive to a dark spot, and prepare to be humbled by the scale of the universe.